Advanced Features
Excelerator offers some advanced features:
- Customise Display Settings
- Tools
- Using Excel Formulas
- Protecting an Excelerator Template
- Resize Detail Ranges
- Remove Orphaned Ranges
Customise Display Settings
Users can customise their Excelerator ribbons and panels.
As a default, all installed modules appear on the Excelerator ribbon.
It is possible to hide unused modules and change the sequence of the modules that appear in the ribbon.
Certain forms are displayed using Excelerator (Designing Templates, Validate etc.). You can control where these forms appear in Excel.
Hiding Modules in the Ribbon
To control which installed modules appear on the Excelerator ribbon, use Display Settings from the Excelerator Login Panel.
From within Display Settings, you can tick which installed modules appear on the ribbon or un-tick to hide a module.
Module Sequence in the Ribbon
You can control the sequence in which the different module parameters appear in the ribbon from here.
Order the modules left to right by dragging the module up or down in the list.
Changes in sequence are not taken into account until the next user login.
Positioning the Designer and Validate Forms
Excelerator users can control the forms displayed in Excelerator by selecting the right panel, left panel or floating.

Error Log
The Error Log can be enabled or disabled by choosing True or False next to Enable Logging. The log is viewed using the Log Viewer option in the ribbon.
Tools
Copy Excel Worksheet
Copy Sheet
Another common requirement in Excelerator is the need to copy or make a duplicate of a worksheet within Excel.
Because Excelerator uses ranges to map between Excel and Sage, the standard MS Excel copy-a-worksheet procedure does not work for Excelerator.
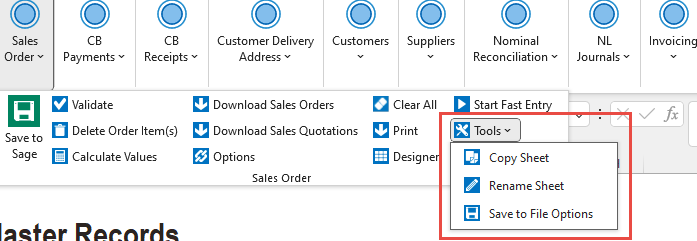
Excelerator Copy Worksheet Tool
Select the Work Sheet you wish to copy and select Tools from the relevant module ribbon.
Then select Copy Work Sheet from the menu.

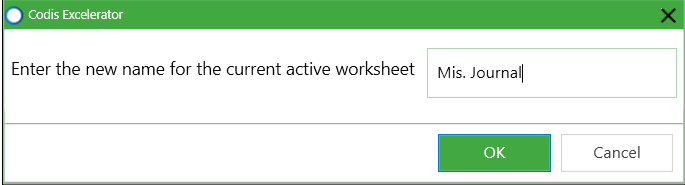
The following dialogue box is displayed where you can type a new name for the copied worksheet.

Click the "OK" button, and the current worksheet and all the Excelerator ranges will be copied to the new sheet.
Info
This could be particularly useful when copying a monthly worksheet from one month to the next.
Rename Excel Worksheet
Rename Sheet
A common requirement in Excelerator is the need to rename a worksheet within Excel.
This can happen, for instance, when a worksheet may refer to a specific month or for many other reasons.
Because Excelerator uses ranges to map between Excel and Sage, the standard MS Excel renaming procedures do not work for Excelerator.
Excelerator Worksheet Renaming Tool
Select the worksheet you wish to rename and select Tools from the relevant module ribbon.
Then select Rename Sheet from the menu.
The following dialogue box is displayed. Enter the new name for the sheet.
After clicking the "OK" button, check that Excelerator works on the new sheet by browsing one of the selectable Sage ranges.
Save Excel Worksheet
Excelerator offers the ability to save a copy of the Excel file at the point when the user saves it to Sage.
This copy can be either in Excel format or a PDF.
Saving In Excel Format
This format will keep a copy of the workbook.
Saving in PDF Format
The PDF document will represent the worksheet based on the configured Excel Print Area and the Page Setup.
You may want to consider setting orientation to landscape and tick "Fit to Page" to get a sensible PDF document.
Configuration

The Tools > Save To File option allows copies of posted journals to be saved on the hard drive.
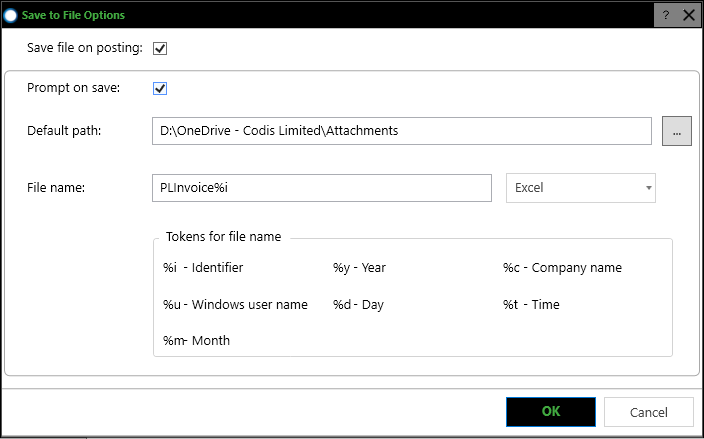
- Save the file on posting: This must be ticked for this functionality to be active. Ticking it will activate the other options.
- Prompt on Save: If this is ticked, the user will be asked to confirm (with the option to amend) the file path, file name and format (see the screen below).
- Default Path: The path to save the file to.
- File name: The name of the file to save the copy to. This can include tokens (shown below). When you save, the full file name will be generated, and the tokens will be substituted with actual values. For instance, if saving a single NL journal, then the "%i" identifier token will be replaced with the journal number.
- Choose a format from the combo box - Excel or PDF.
In the above example, a copy of the posted journal will automatically be saved to the Sage 200 Templates folder on the C Drive. The file's name will include the journal number, day, month and year, and the file will be Excel.
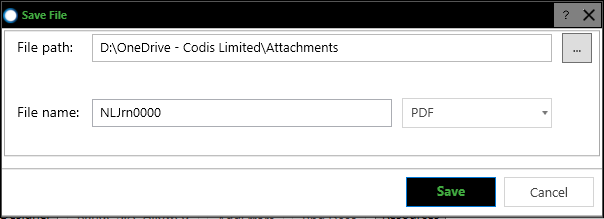
When you save to Sage in Excelerator, if you have ticked "Save file on posting" and "Prompt on Save", this will be displayed:
Using Excel Formulas
Excelerator users can use Excel formulas in ranges.
Info
You may experience difficulties entering formulas if Add Length Validation is turned on when creating your template, as it adds Excel length or date validation. This validation can prevent the formula from being entered.
To avoid this issue, you can either:
- Turn off the validation in Excel for these cells.
- Design your template with the validation option turned off.
- Paste the formula from other cells. (Although this can cause issues if any references aren't absolute.). See the video below.
Warning
Clear All options will not remove the formula
Download options will overwrite the formula
This video shows the formula being pasted into a range.
Protecting an Excelerator Template
Protect Cells Within a Template to Improve Data Entry.
One way to improve the user experience with Excelerator is by using the MS Excel feature Protect current sheet.
By protecting the sheet, users will be restricted from selecting and entering data to selected cells.
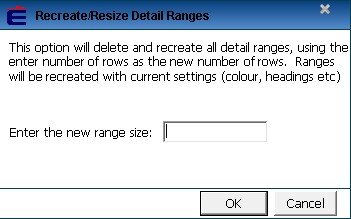
Resize Detail Ranges
Select the Settings icon > Resize Detail Ranges from the Designer to adjust the detailed line items for the template.
It would be best if you input the value to increase the no. of rows on the template.
Info
By default, the Resize Detail Range will reapply formatting according to the formatting settings. If you do not wish this to happen, tick the "Do not apply any formatting?" tick box.
Info
The version of Excel will limit the maximum number of rows that users can add unless an Excelerator module specifies a limit.
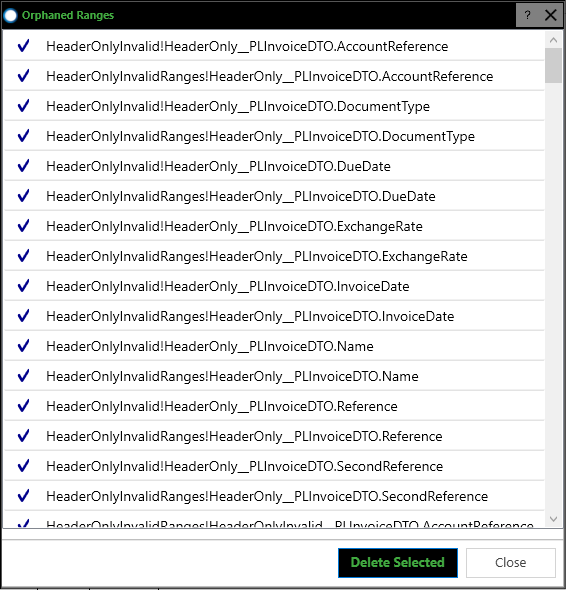
Remove Orphaned Ranges
This tool can be accessed from the Designer by selecting the Settings icon > Remove Orphan Ranges.
Excelerator tracks its data ranges using Excel named ranges. If named ranges reference an area on a worksheet and that worksheet is deleted, then those named ranges will be orphaned.
This tool will detect orphaned ranges and allow you to remove them.
The tool will list all the orphaned ranges it detects. You can untick ranges you do not want to remove.